Registering your iotty Smart SwitchUpdated 3 months ago
Note: Each iotty Smart switch broadcasts a Wi-Fi Network once installed. It can be found as IOTTY_Serial_Number in your smartphones Wi-Fi settings (the serial # of your iotty device can be found on the sticker attached to your switch).
How to add an iotty Switch to your iotty app account:
1) Open your iotty app account and at the top of the Devices page select the ' + ' sign

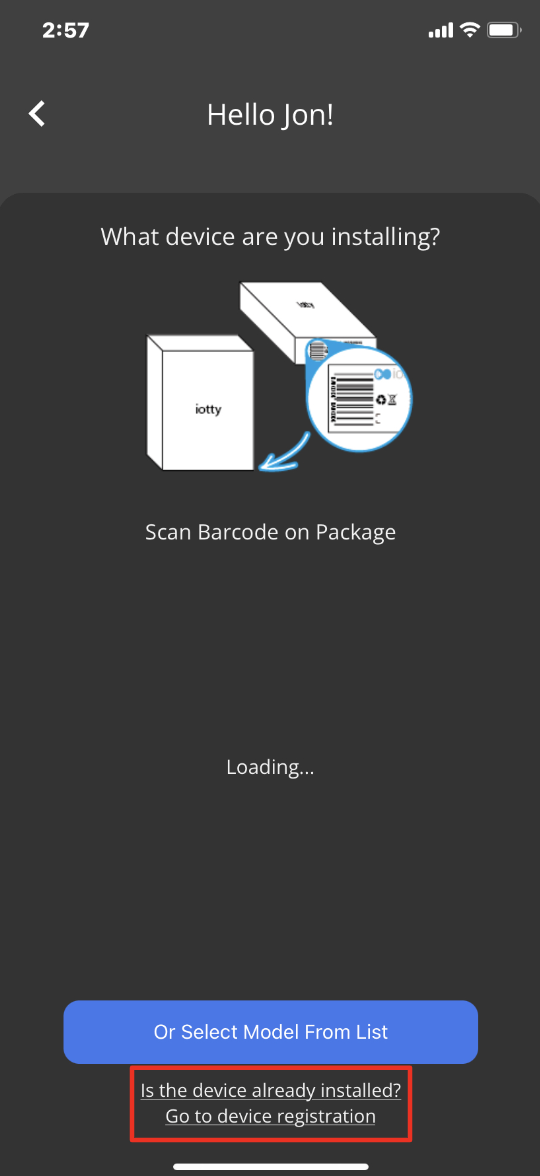
2) If the device is already installed and the backlight is illuminated, Select 'Go to device registration' at the very bottom of the screen
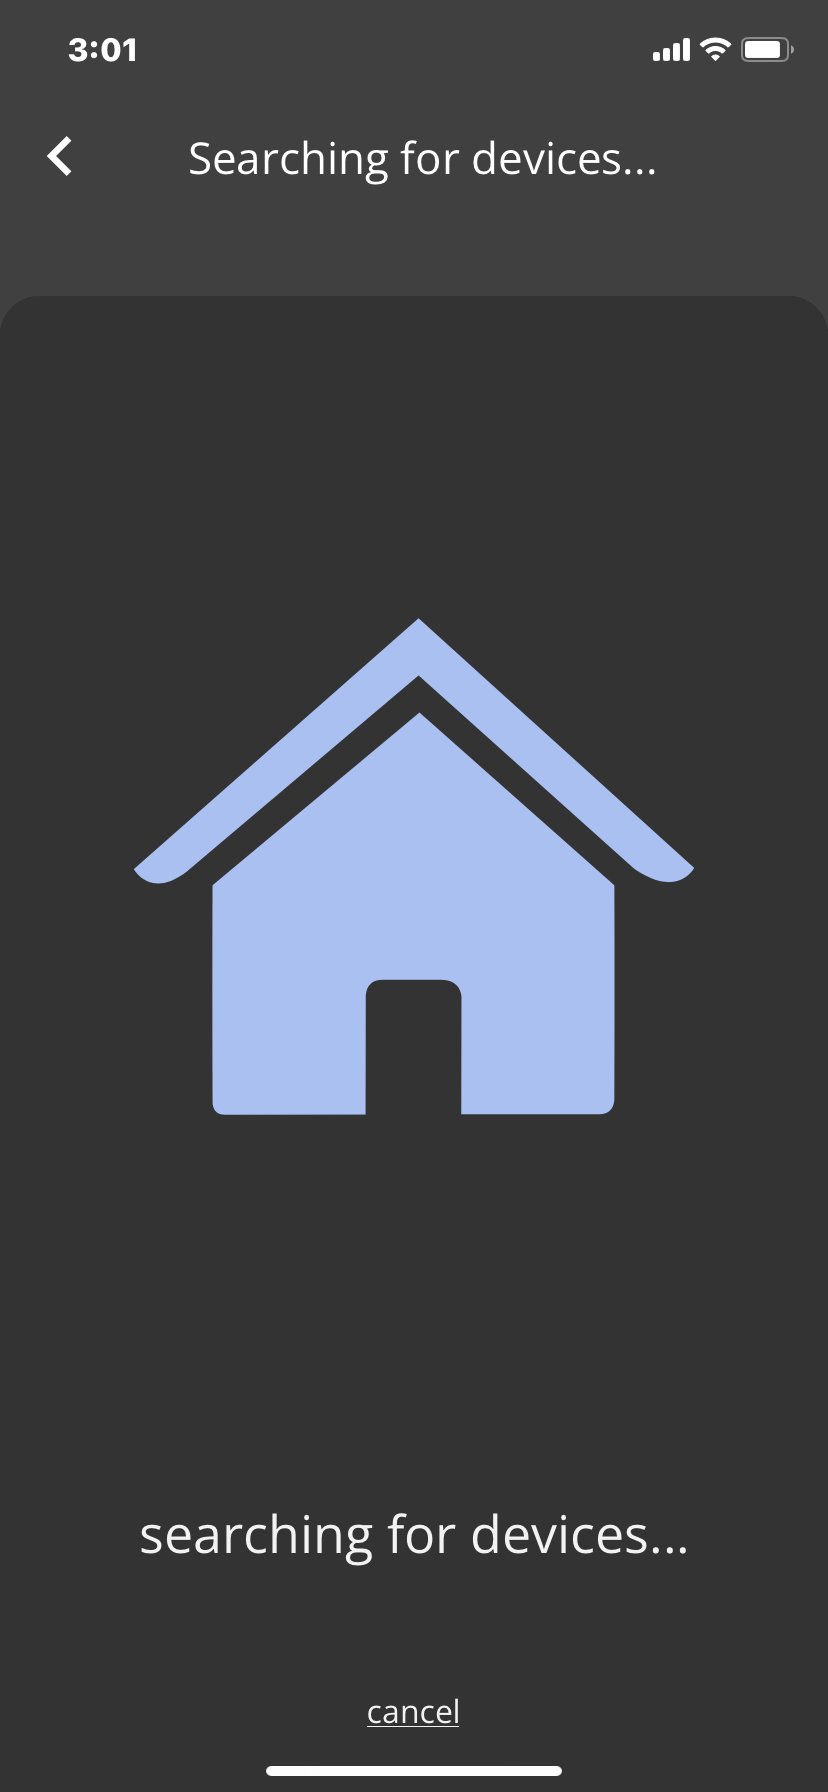
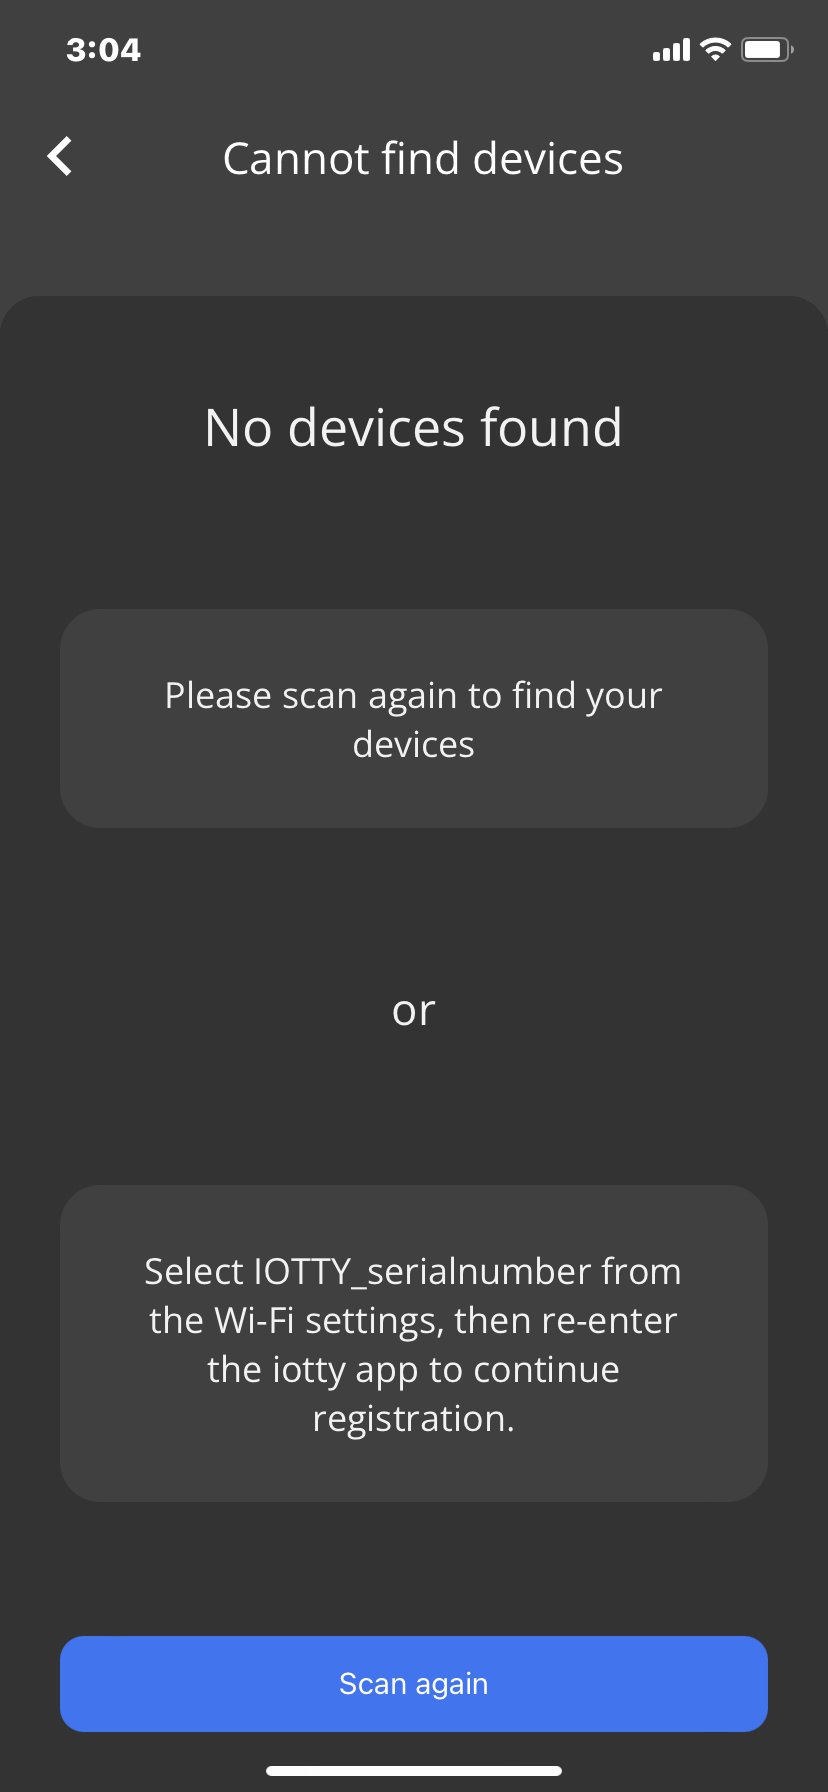
3) The iotty app will automatically search and connect to your iotty Smart Switches Wi-Fi broadcast, if it does not you can scan again or manually connect to the switch's network (IOTTY_serial_number) from the Wi-Fi settings of your smartphone
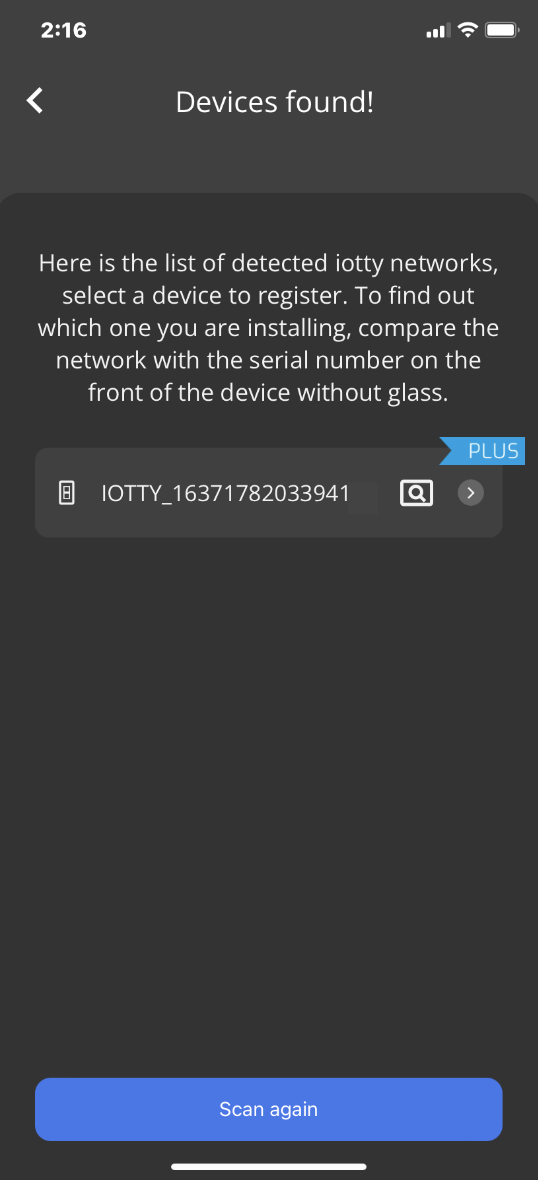
4) Select the device you would like to install by serial #. The Serial # of the device can be found on the front of the Backplate/Controller (component that screws into the wall) and on the product packing box. It will show as IOTTY_serial_number
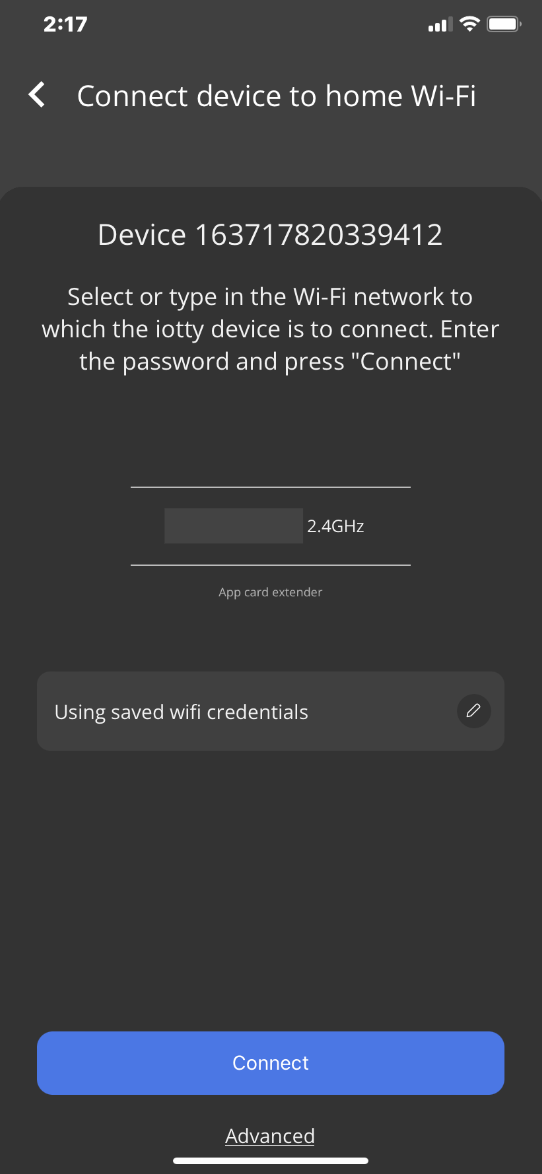
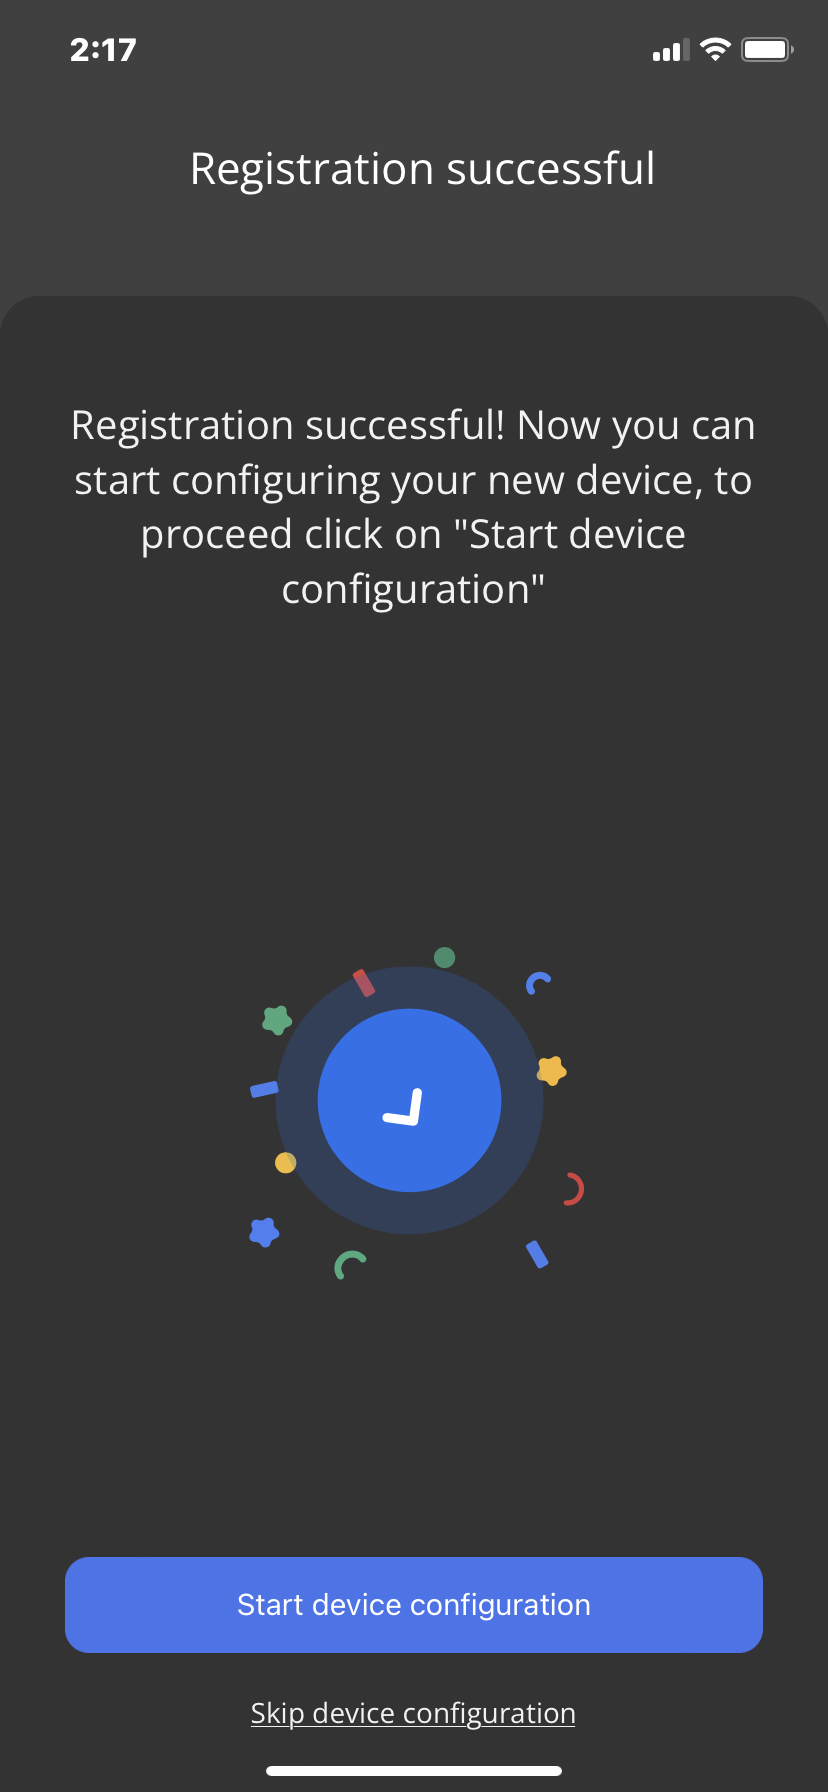
5) You will be prompted to enter in your home's SSID/Network name (Some routers broadcast two networks with the same name and adds a _2.4GHz or 5.0GHz. make sure to include the full SSID including the ending if applicable and note that it can only connect to 2.4GHz networks) and password. Once your SSID and password is entered tap 'Select'. When Registration is complete select 'Start device configuration'
*The SSID & Password are both case and space sensitive
**The SSID & Password will be saved if you have previously registered a device to your home's Wi-Fi network.
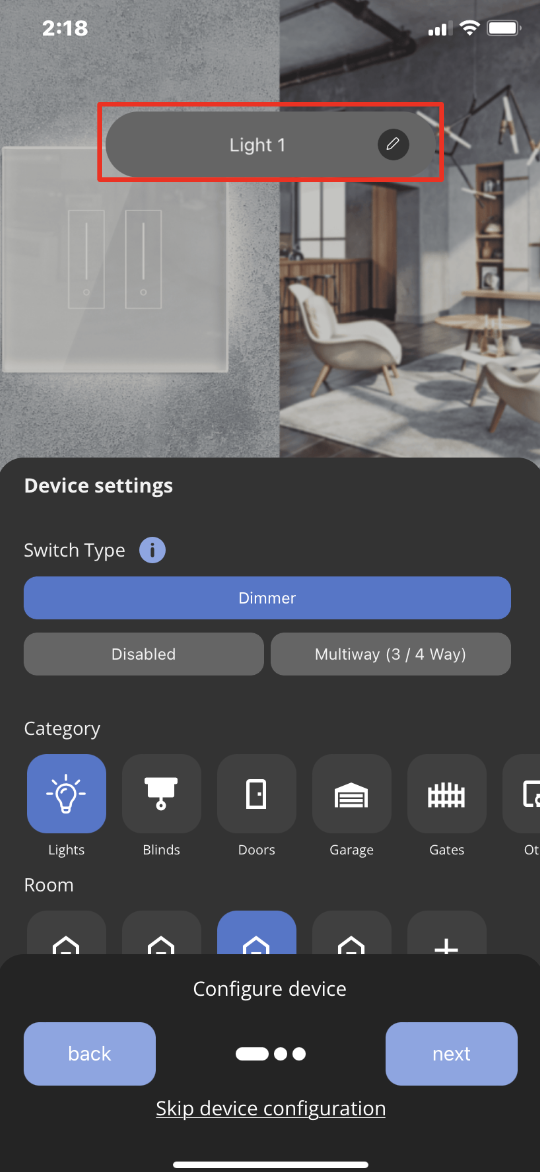
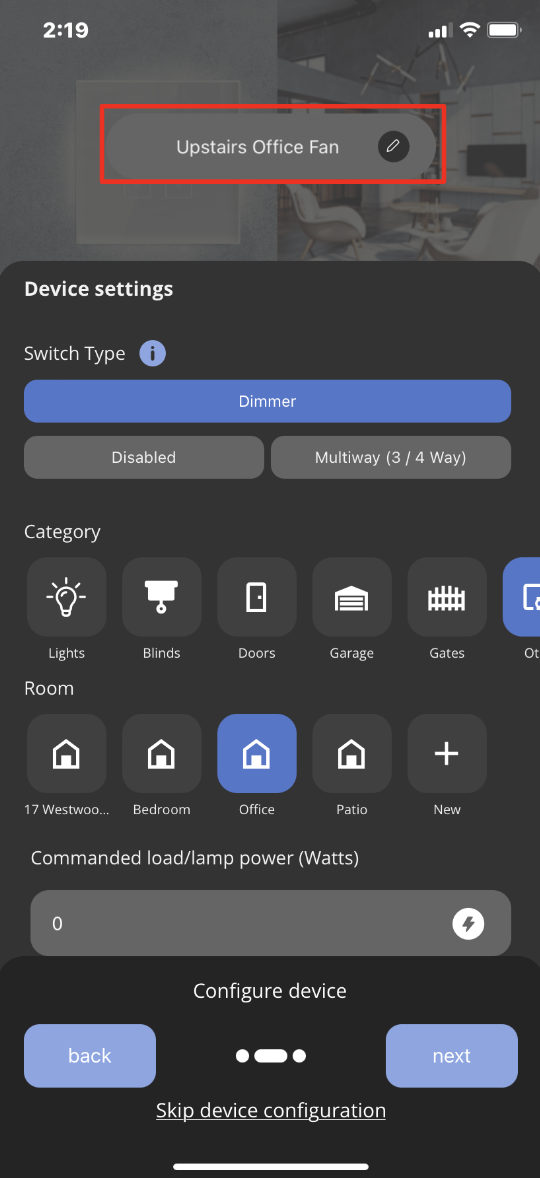
6) Once this is completed you will be prompted to name the Switch(es) (per gang) and name the Plate (Controller).
 .
. 
7) You can now name the Plate which contains both of these switches so it can be easily identified under the Plate list of your iotty app account. Once you've named your Plate tap 'Save' at the bottom right of the screen
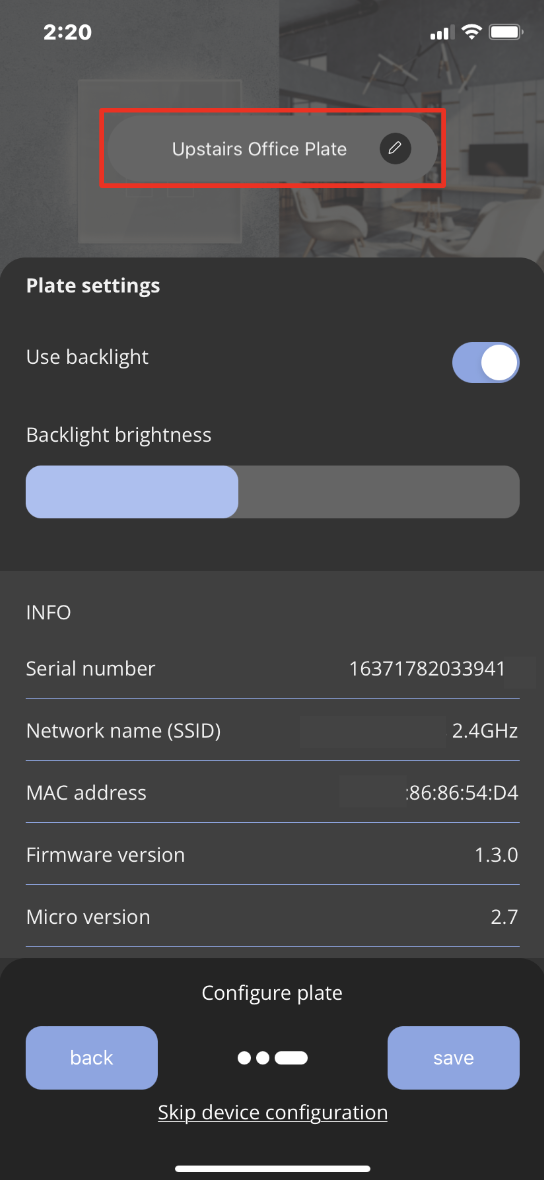
*This example is of a 2 Switch Controller. Where Light 1, Light 2 (Switch 1, Switch 2) and the Plate is named
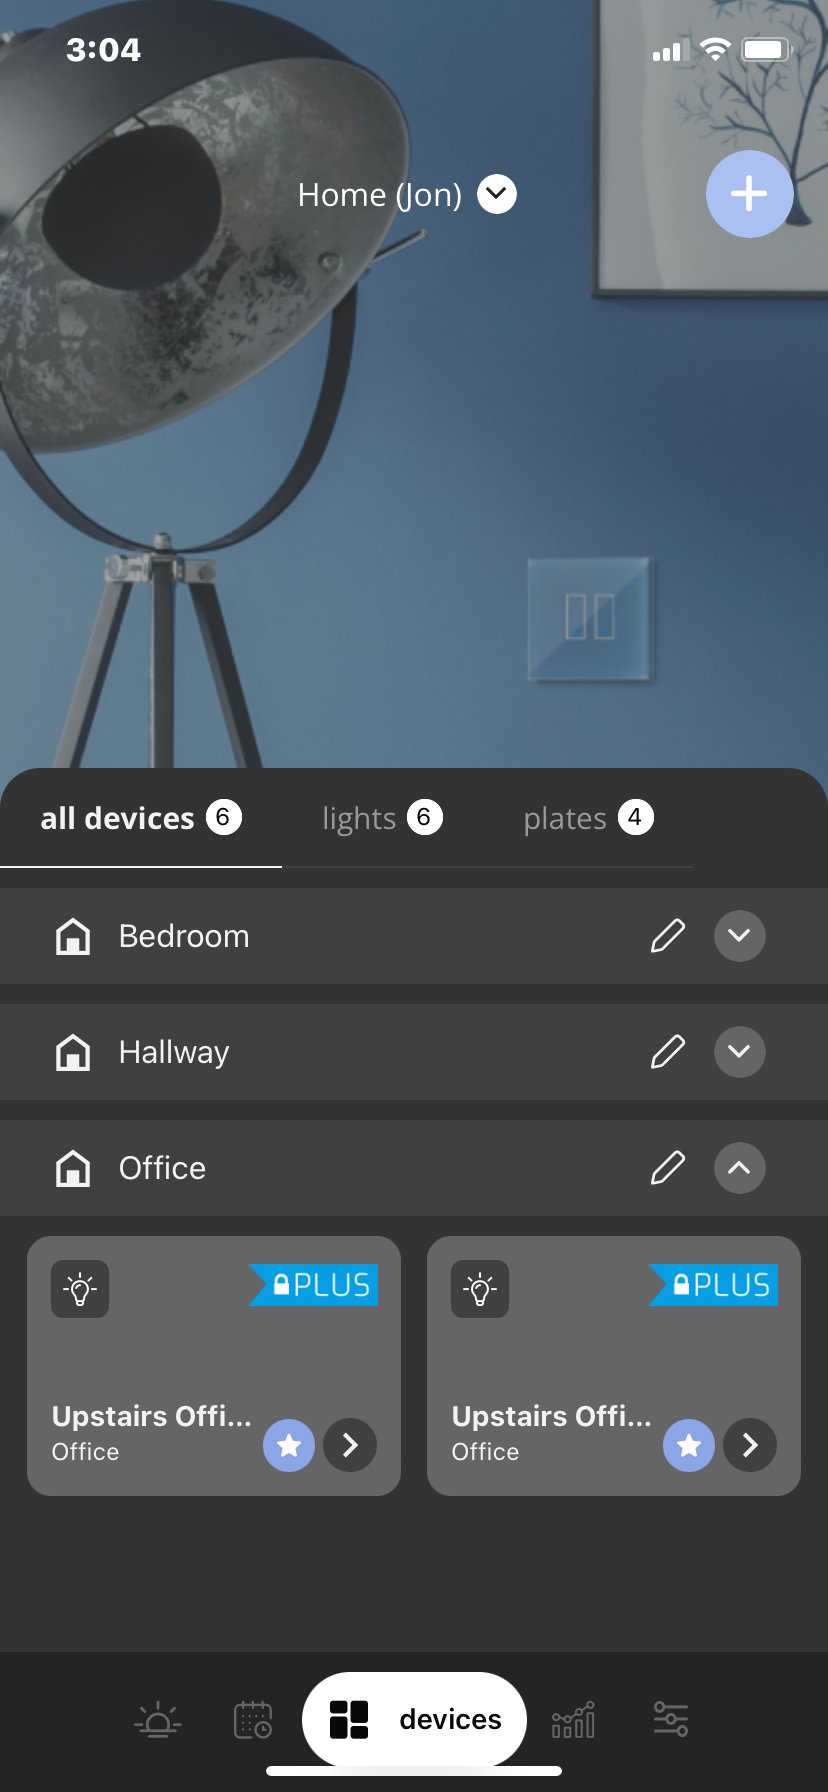
8) Your Switch is now registered and it will appear under 'all devices' in the app
Troubleshooting:
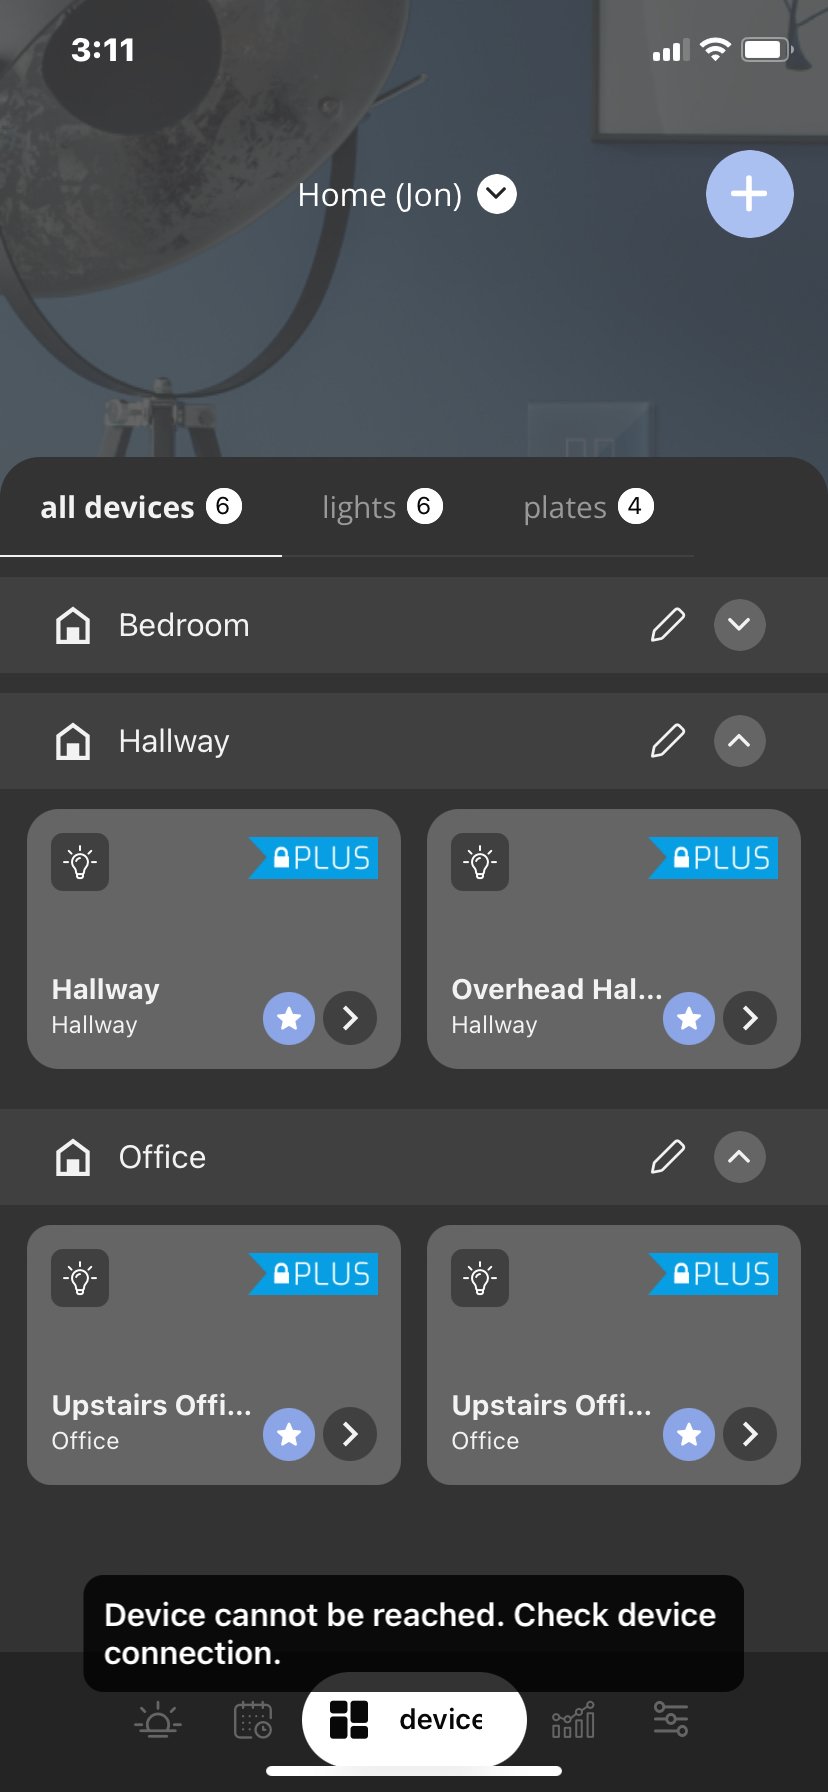
1) If you see an error message (as shown below) please return to your smartphones Settings, enable 'Airplane Mode' on your Smartphones settings and Repeat from Step 1.
2) If your iotty Smart Switch's Wi-Fi network can not be found on your smartphone, see our Physical Reset Help Article here for help making your switch rebroadcast its Wi-Fi network so you can connect to it from your smartphone and complete registration of your iotty Smart Switch.
3) If you receive an error message 'Failed to Register' after Step 5. Please verify that your Wi-Fi Name and Password for your 2.4 GHz Wi-Fi are correct. Checking capitalization and spacing to match exactly as the back of your router or pre-set Name and Password of your Wi-Fi network.
Tags: connecting, register, add to app, wifi, network, internet, add to app,